
Author : Satu Vainikka
Satu Vainikka is a Finnish barefoot hoof care specialist with over 20 years of professional experience in trimming and rehabilitation. Together with her husband Jiri, she has worked with thousands of horses since 2004, focusing on healthy, functional movement. As one of the creators of Flex Boots, Satu brings practical, evidence-based knowledge to every detail of the design.
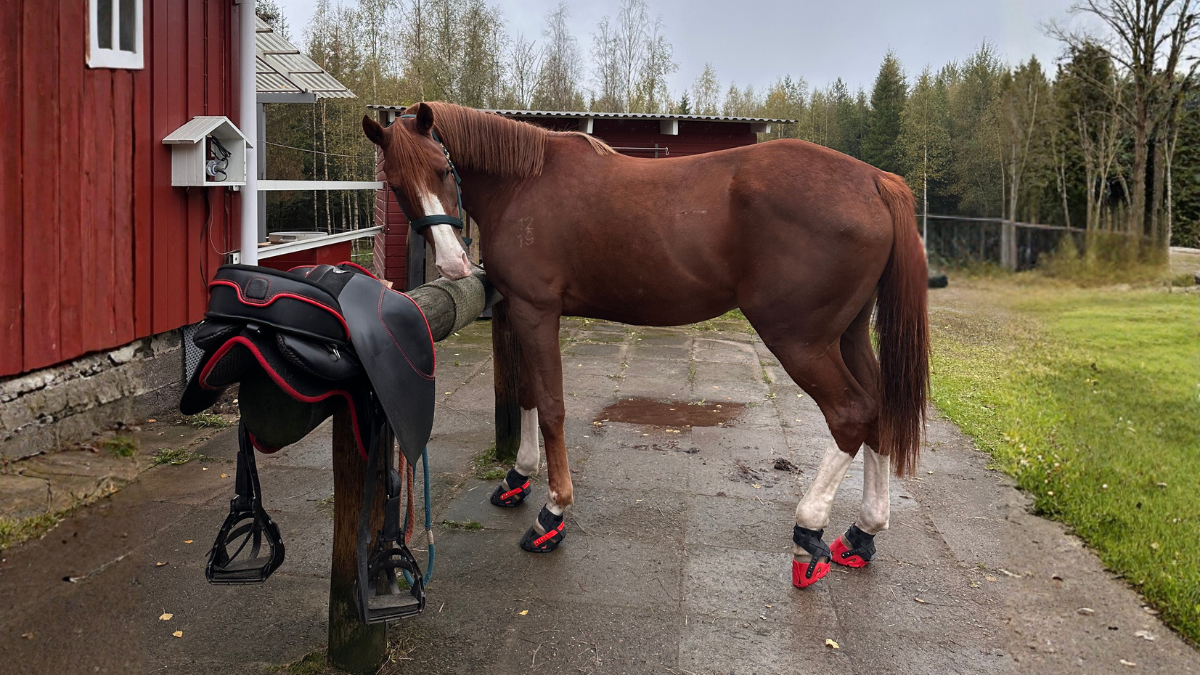
Matti hasn’t been with us for very long, but we’ve already been on all kinds of adventures together. We’ve explored rocky forest trails, walked through long grass and soft moss, travelled along gravel roads and waded through puddles and plenty of mud. Exactly the kinds of places where you want your hoof boots to stay on. Nobody feels like searching for a lost boot somewhere in the bushes halfway through a ride.
We also decided to put our new add-on, the Flex Trail Kit, to the test on Matti’s boots right from the start.
Why Did We Need Something Like This?
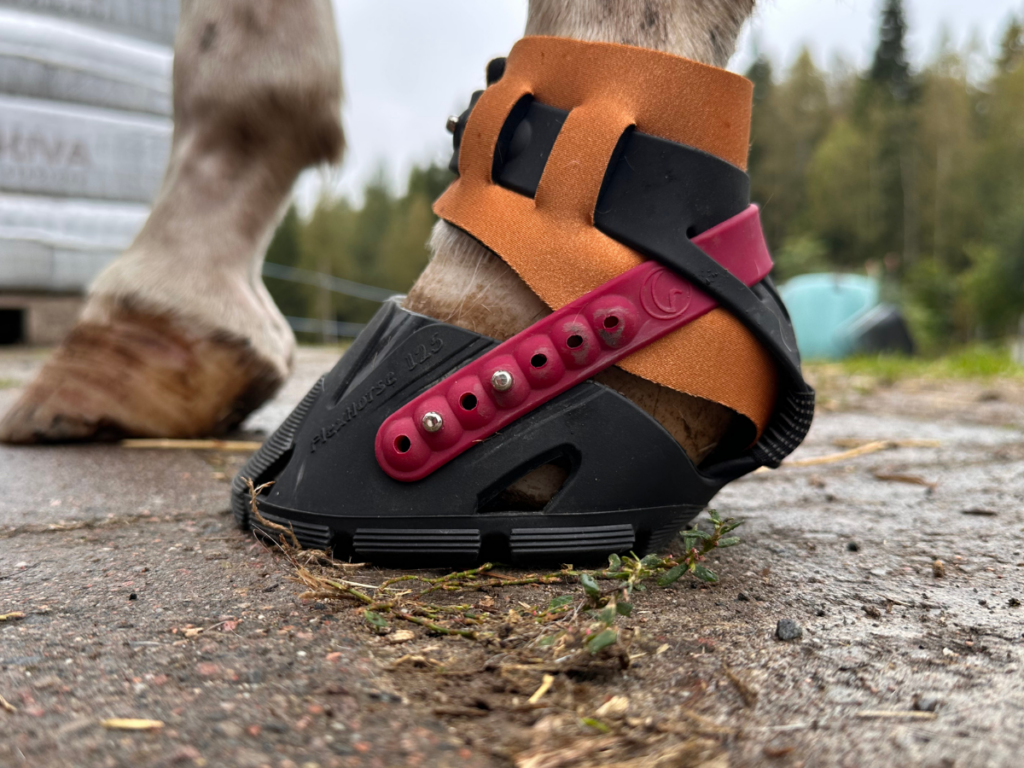
The Flex Boot Back Strap normally fastens onto two ball rivets on each side of the boot, and for most horses, it stays securely in place just as it is.
But then there are those cases where it doesn’t.
When riding through long grass or really muddy conditions, grass, mud and all sorts of other things can work their way underneath the Back Strap. If enough material builds up, the strap can pop off the lower ball rivet first, followed by the upper one. And once both fastenings have come undone, the boot isn’t going to stay on forever.
We wanted to find a solution to this, so we did.
A Small but Clever Little Addition
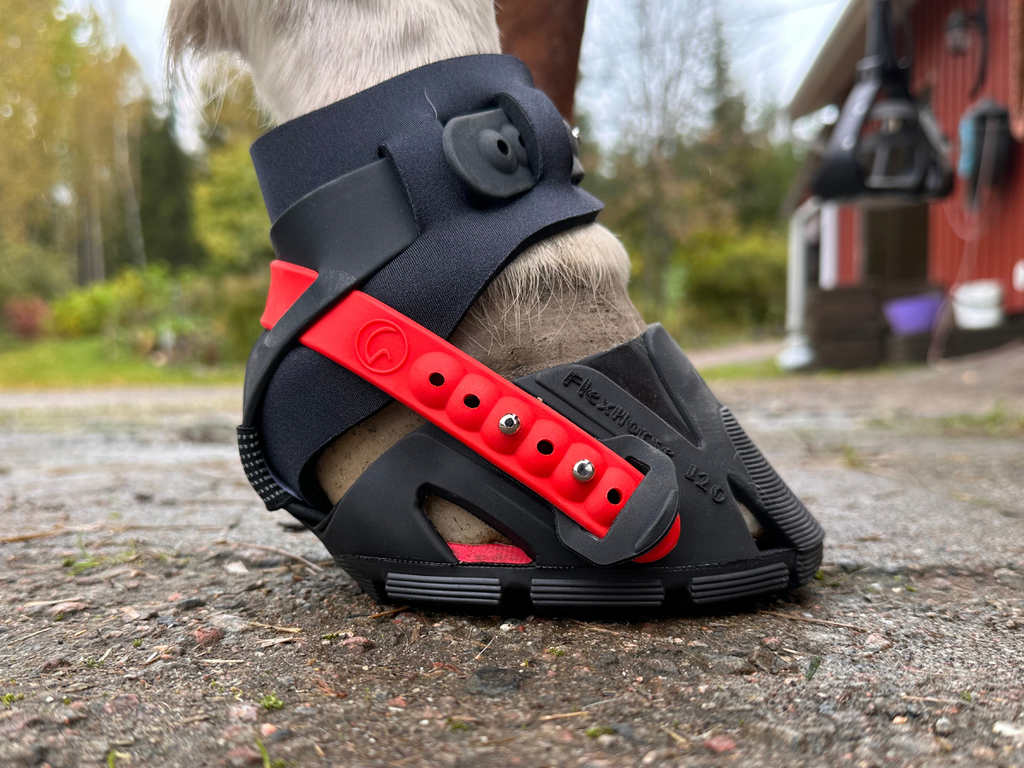
The Flex Trail Kit is actually a very simple add-on. Each kit includes two TPU Strap Locks and four Flat Rivets with screws, enough for one pair of boots.
The Flex Trail Kit locks the end of the Back Strap in place, helping prevent it from coming undone in the same way, even if grass or mud gets underneath it.
I have to say, I’m genuinely excited about this little invention. Maybe especially because the solution is so simple.
The Flex Trail Kit doesn’t make the boot stiffer or turn putting it on into some complicated engineering project. It simply keeps the Back Strap where it belongs.
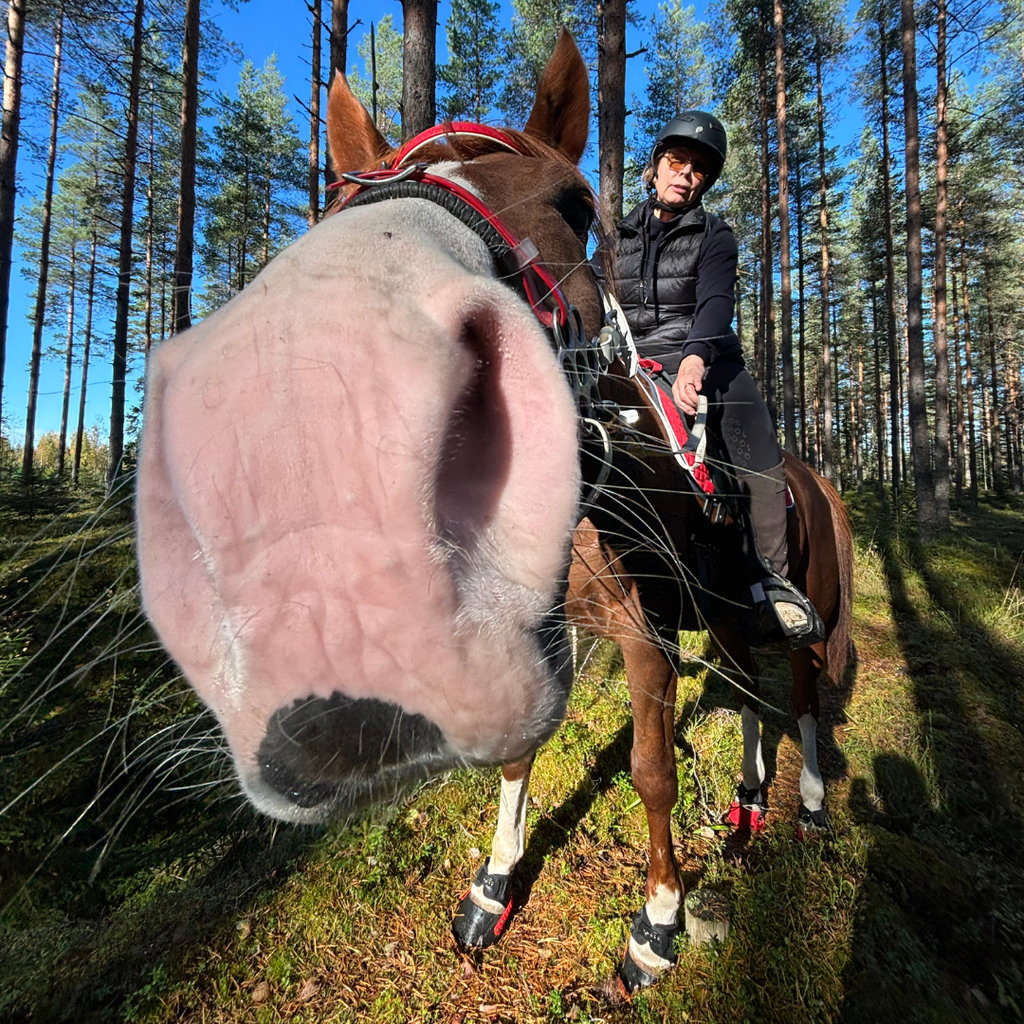
And perhaps the best part is that customers don’t have to buy new boots to get this feature. The Flex Trail Kit can be fitted to existing Flex Boots. All you need is the add-on kit.
I particularly like that. To me, improving a good product shouldn’t always mean throwing the old one away and buying something completely new.
How Do You Use the Flex Trail Kit?
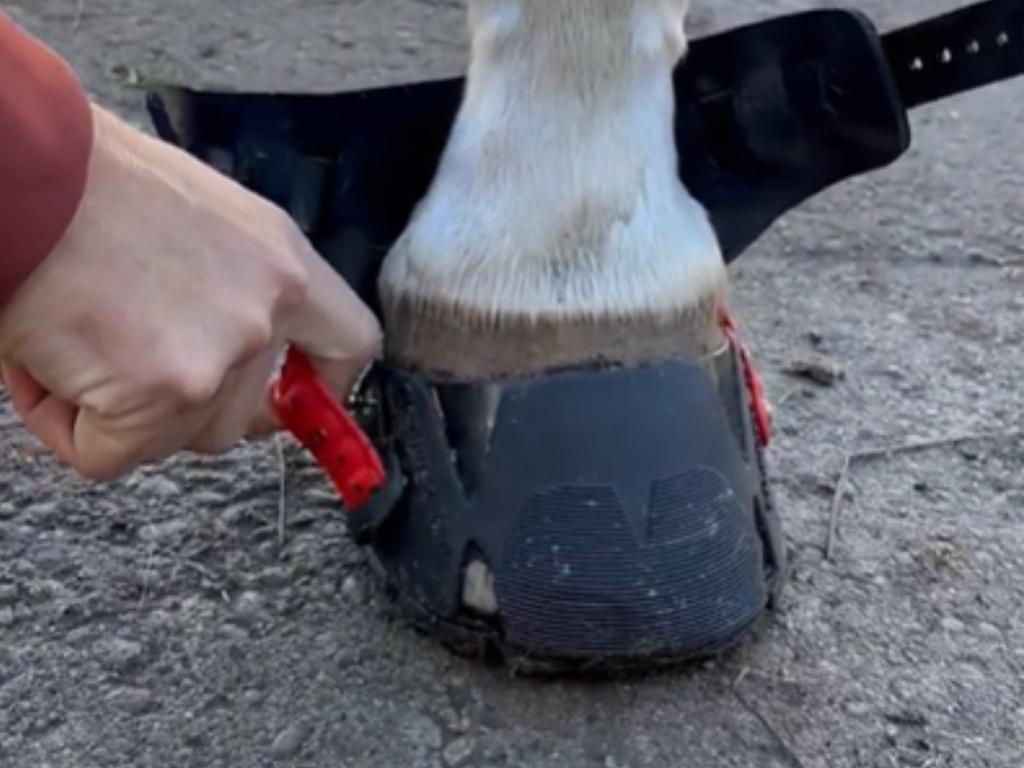
Putting the boots on doesn’t really change much at all.
First, fasten the Back Strap onto the ball rivets as usual. Then bend the TPU Strap Lock slightly and slide the end of the strap underneath it to lock it in place. That’s it.
If your Back Strap has more than one unused hole beyond the ball rivets, you can also do it the other way around: first thread the end of the strap through the Strap Lock, then press the strap onto the ball rivets.
Matti and I have also found the easiest way to take the boots off. Slip a couple of fingers between the Back Strap and the horse’s leg, just above the ball rivets, and pop the strap off the rivets from there. There’s no need to bend the Strap Lock open separately or try to dig the strap out from underneath it.
Once you’ve done it a couple of times, you hardly even think about it anymore.
How Do You Install the Flex Trail Kit?
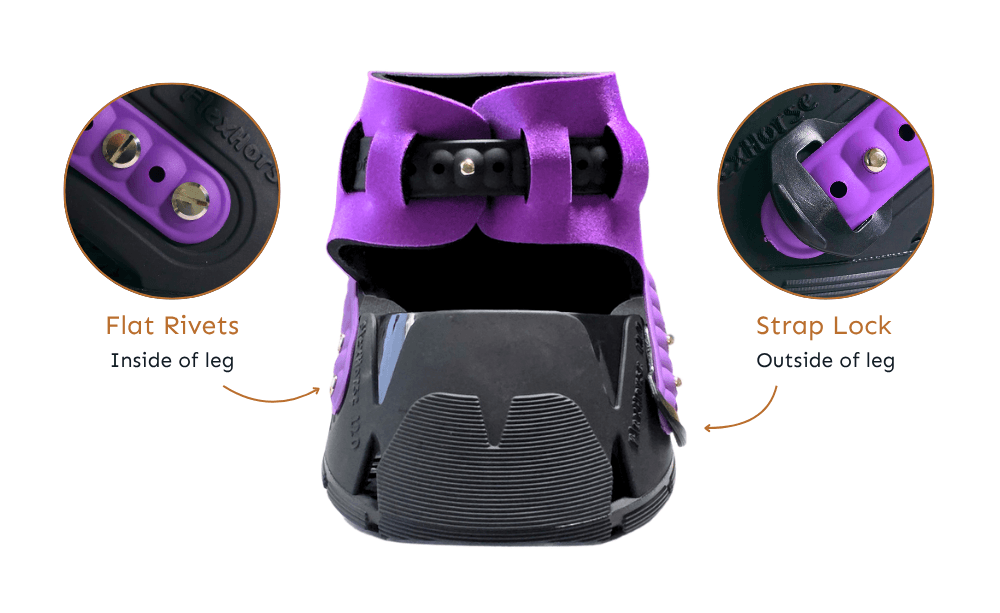
Installing the Flex Trail Kit is straightforward.
On the outside of the boot:
- Unscrew the ball rivets on the outside of the boot.
- Position the Strap Lock over the screws, with the strap-locking end pointing downwards.
- Reattach the ball rivets. Hold them in place with pliers while tightening the screws with a screwdriver.
On the inside of the boot:
- Remove the ball rivets and screws from the inside of the boot.
- Insert the Flat Rivet screws into the Washer.
- Press the screws and Washer into position.
- Place the Flat Rivets into the holes of the Back Strap.
- Press the strap against the boot shell, aligning the hole in each Flat Rivet with its screw. (This can be a little tricky when you can’t quite see what you’re doing, but it can be done. Even I managed it!)
- Tighten the Flat Rivets while holding the screws on the inside in place with a screwdriver.
I really hope this little new addition will be helpful and bring you plenty of enjoyment on your future trail rides, as well as in situations where your horse needs extra protection or traction during turnout.
Wishing you many relaxing moments with your horses!